
Good morning, everyone! Today, we have an exceptional class where I’ll guide you through the process of installing or replacing a shower door handle. Whether you’re updating your bathroom or making a quick repair, knowing how to handle this task can save you time and hassle.
Choosing Your Handle
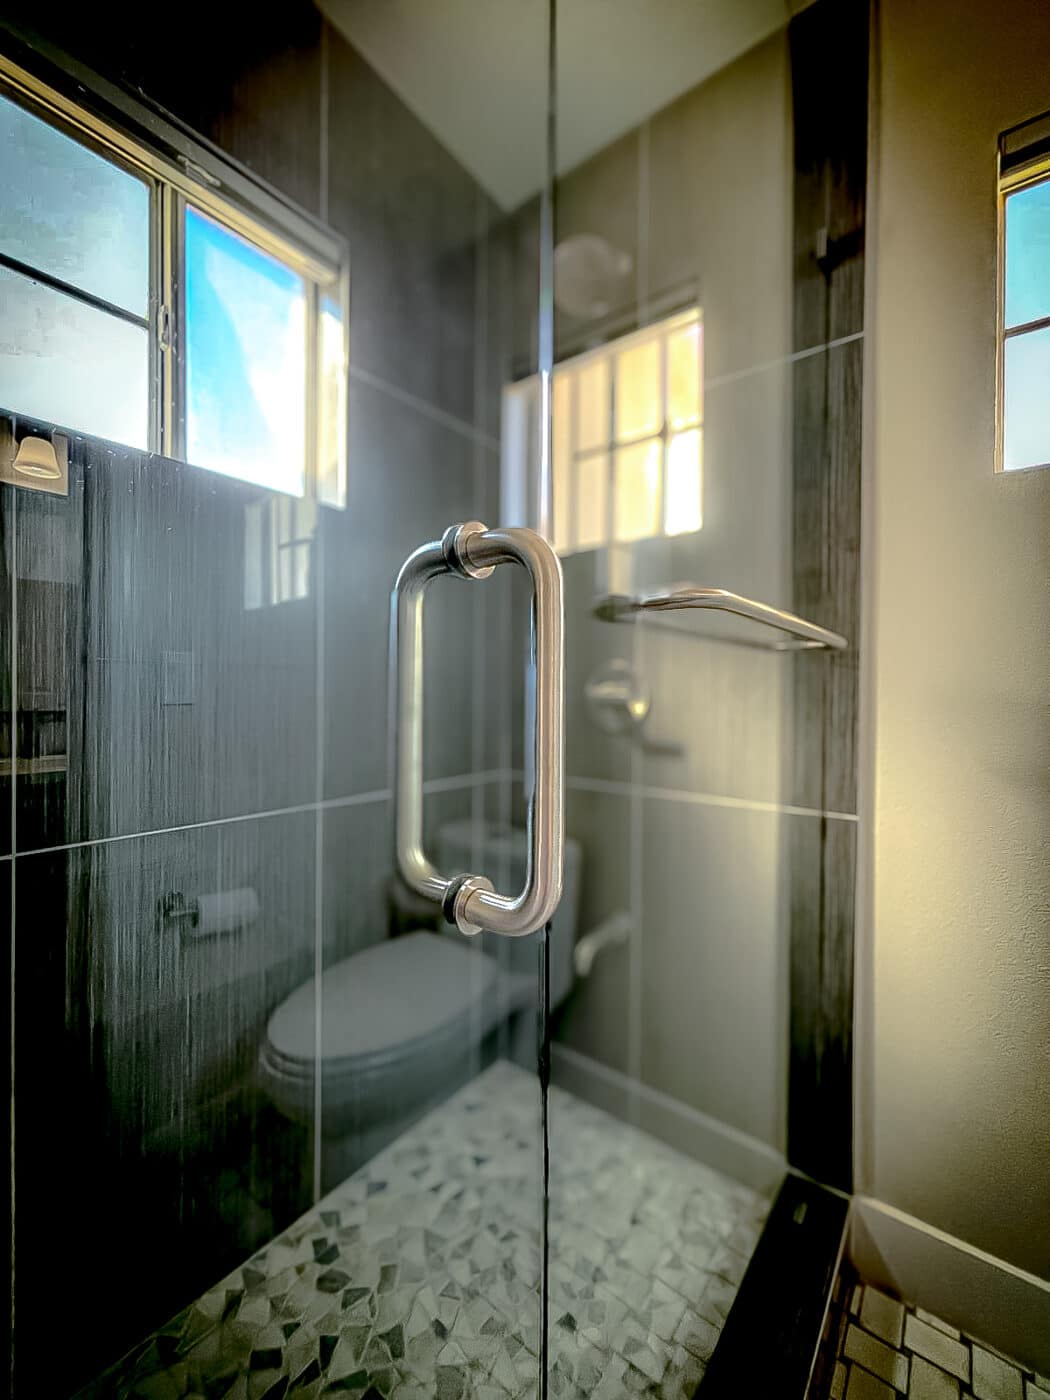
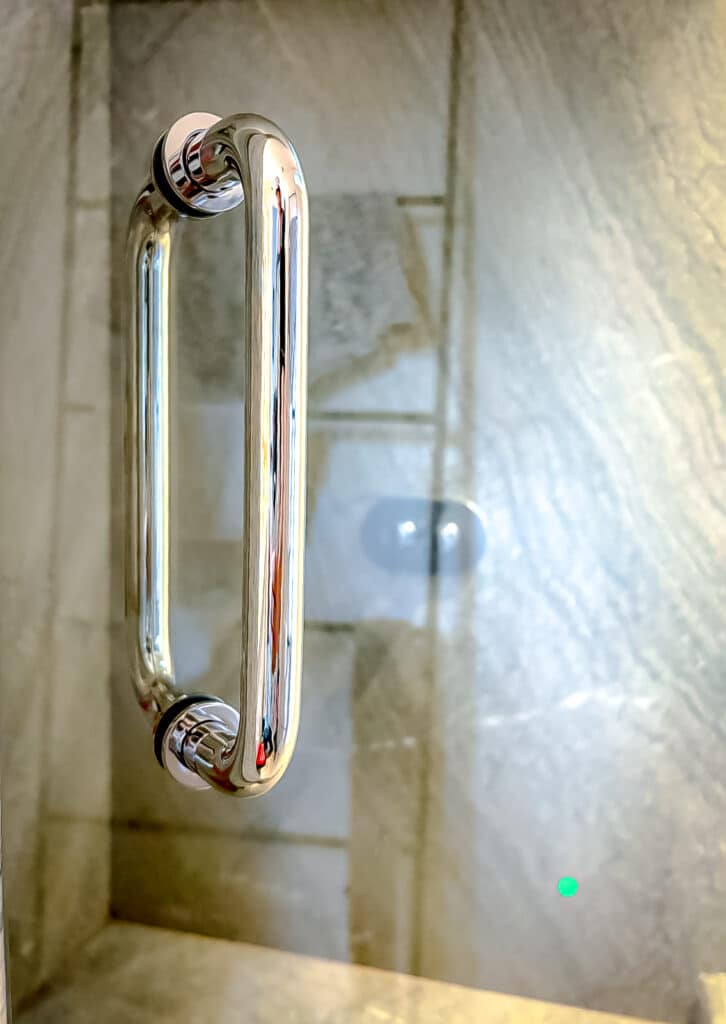
For our demonstration, we’ll be working with a standard tubular shower door handle in a chic polished chrome finish from Glaziers Choice Hardware —a popular choice among homeowners. Before we dive in, let’s talk about the tools you’ll need:
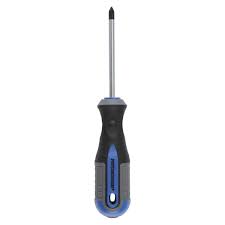
- A Phillips head screwdriver (#3 size)
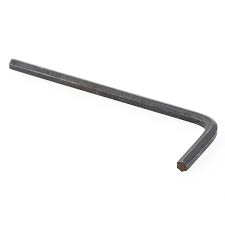
- A #3 Allen key (metric size is most commonly used)
- A bit of patience
Preparing for Shower Door Handle Installation
First, identify the two sides of your handle. One side will have solid ends, and the other will feature set screws. I recommend positioning the set screws on the outside of the shower door. Why? Because over time, water from the shower can get inside these screws. If they’re on the outside, they’ll be much easier to access and clean, should you ever need to replace the handle again.
Installation Steps
- Start with the Threaded Rods: These rods will connect both sides of the handle through the door. Make sure the side with the set screws (the nub) faces the exterior of the shower door. This setup ensures easy access and maintenance down the line.
- Add Washers: Place washers on the rods before inserting them into the door. This prevents metal from directly touching the glass, which could cause damage.
- Attach the Handles: Insert the rods with one handle attached into the door. Don’t fully tighten it yet—you’ll need some wiggle room to attach the other handle.
- Secure Everything in Place: Once both handles are aligned and in place, start tightening the screws. It’s crucial not to overtighten at this stage to avoid putting too much pressure on the glass.
- Check the Alignment: Use a tape measure to ensure that the handle is perfectly horizontal. Measure from the edge of the door to the bottom of the handle and adjust as necessary to match the top. Even though it might not seem like a big deal, a well-aligned handle enhances the overall aesthetics and function of your door.
- Final Tightening: Once everything is aligned, use your Phillips head screwdriver to give the screws a final tighten. Put some muscle into it, but be careful not to strip the screws. Avoid using a power drill for this part to maintain control and precision.
Finishing Touches
And there you have it! Your new shower door handle is installed and should be sturdy and stylish. Remember, it’s these small details that make a big difference in the functionality and look of your bathroom.
Need More Help?
If you’re looking to upgrade your shower door handle or need additional supplies, feel free to check out a selection at Glaziers Choice Hardware Inc.. You can also send us a message here for more personalized assistance.
Thanks for joining today’s session. Installing a new shower door handle is simpler than it seems, and with the right tools and a little patience, you can achieve professional results at home!
HELPING TO IMPROVE SPACES
Affordable Frameless Shower Doors team of professionals brings decades of construction and home remodel experience to you living spaces. Attention to detail is vital for shower glass and we pride our selves on consistent and professional fabrication and install every time.
